Host Misskey instance under Windows using WSL
The Misskey Hub provides a guide to manually set up a self-host instance.
It is for native Linux distro, but, let’s try this on WSL!
Environment setup and discussion
-
The Host System:
OS: Windows 11 22H2 WSL: 1.0.0 from Microsoft Store Linux: Debian (Buster/stable) from Microsoft Store -
The Service:
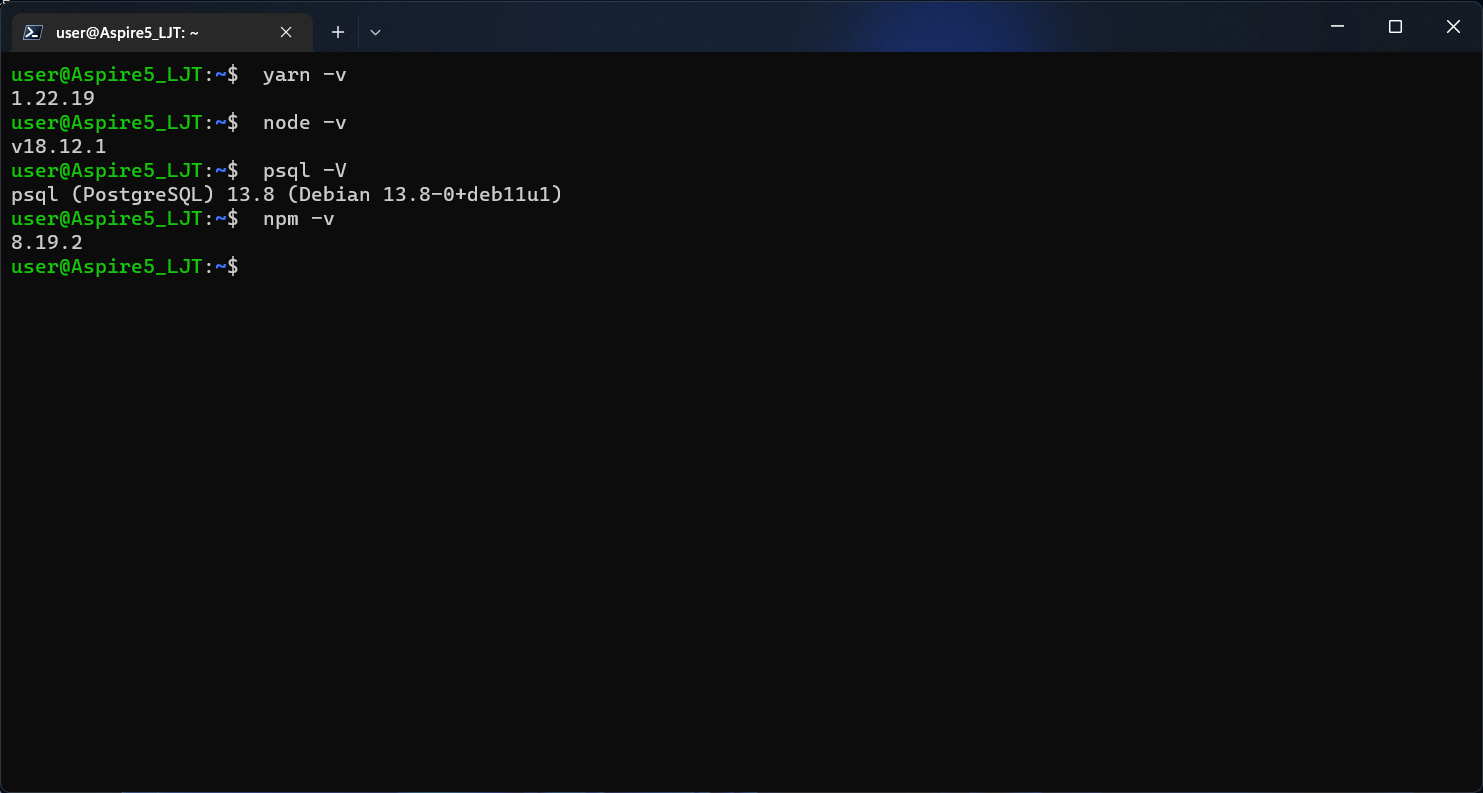
NodeJS: 18.x
Yarn: 1.22.19
npm: 8.19.2
PostgreSQL: 13.8
Redis: Debian latest
Misskey Setup and Installation Guide
!!! Now, let’s follow the steps of the official guide, with modifications !!!
-
system prepartion:
- Follow official NodeJS Binary Distribution Guide
- Search for the “Node.js v18.x:” paragraph, follow the Debian part.
- Follow the terminal output to install Yarn package manager
- install
build-essesntial:sudo apt install build-essential - install other optional packages:
sudo apt install postgresql-13 redis ffmpeg npm
-
setup misskey
user$ sudo su - misskey misskey$ git clone --recursive https://github.com/misskey-dev/misskey.git misskey$ cd misskey misskey$ git checkout 12.119.0 # 12.119.0 is the latest stable version as of writing misskey$ rm yarn.lock misskey$ yarn install -
edit
.config/default.ymlhints on what to edit:
- The host domain
- The user name
- The db name and password
- …read through the YAML and see what suits your need.
-
NODE_ENV=production yarn build!!! Errors occured. Mostly are complaining about missing typescript module.
!!! Ignore them if scripts ended peacfully.!!!
-
Setup PostgreSQL
!!!Follow steps here carefully!!!
- We’re not going with what document says.
sudo -u postgres psql-
[psql] create database misskey with encoding = 'UTF8' template='template0'; [psql] create user misskey; [psql] \password misskey [psql] grant all privileges on database misskey to misskey; [psql] \q --- use your own DB name, user name and password. - start services
root# /etc/init.d/postgresql start root# /etc/init.d/redis-server start - initialize database
misskey$ yarn run init
-
test run
 misskey$ cd misskey
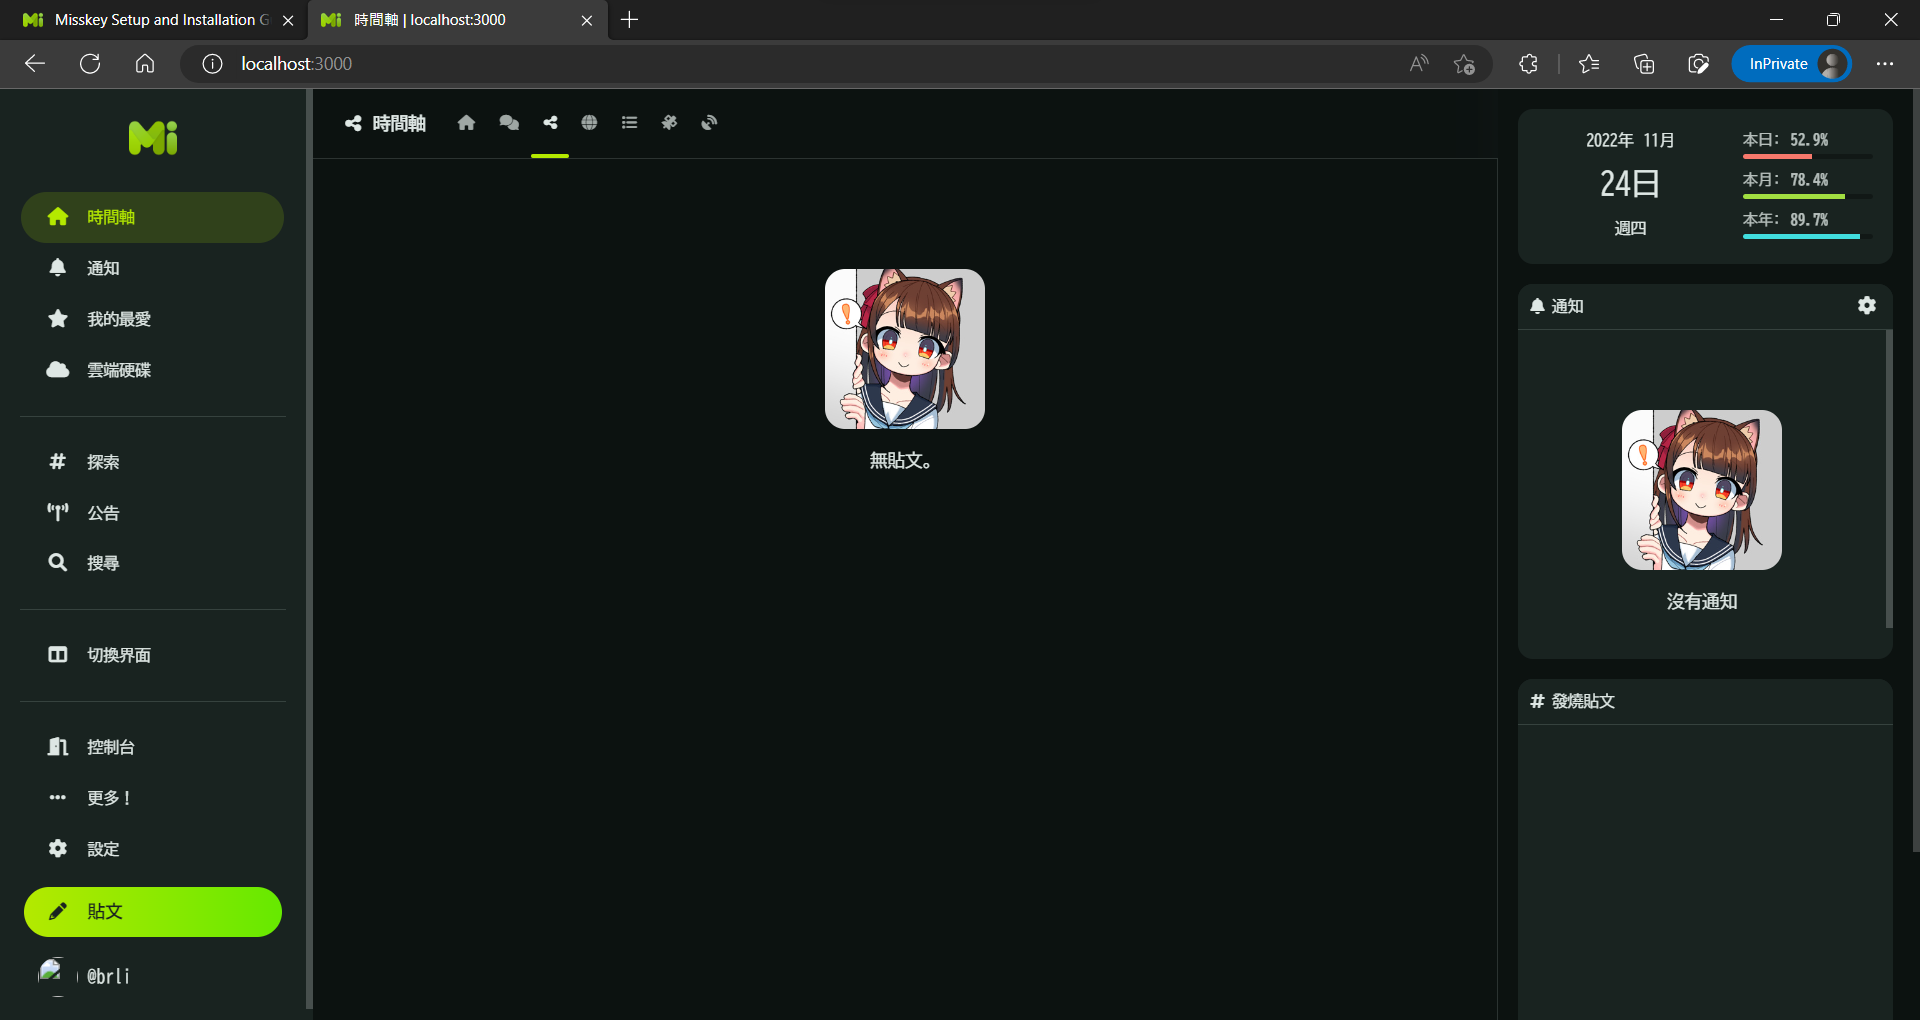
 misskey$ NODE_ENV=production npm start
Wired to Outer Internet
(not going to explicitly explain following steps)
- setup nginx reverse port proxy, open 443 and/or 80
- unlock ports from Windows’ firewall, giving it Windows Defender, or other security applications.
- try to connect to the instance from other browser under same LAN.
- set up port forwarding from your router.
- try to connect to the public ip from mobile data.